Holly Kellogg and I met on the airport shuttle that carried us to the 2006 PMC Conference at Purdue University. Over the years we have become good friends who like to learn new creative techniques together. Sometimes we attend workshops, and other times we just try to figure out what we want to try next when we visit each other’s studio. Hmm…what would it be this year when she had 5 days to come to the island with her son Evan and daughter Maia?
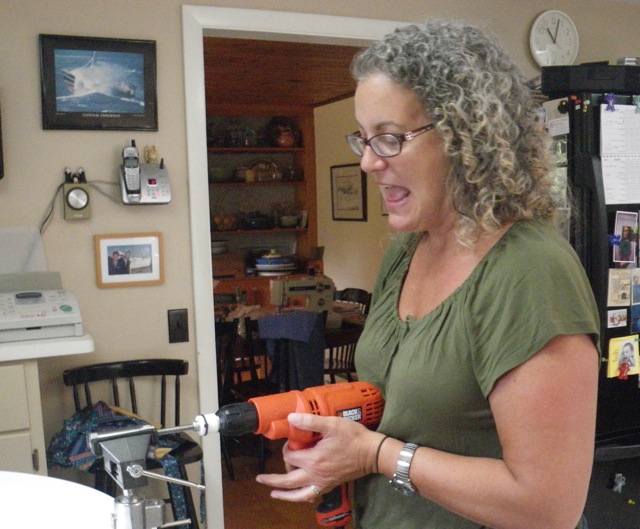
When in doubt, we get out the polymer clay. I planned ahead for her visit because I was fascinated with the idea of using an extruder to make thin canes of varying color that I think are called rainbow canes. (I’m confused about the terms “pixilated cane” and “retro cane.” I think they apply to larger canes of polymer clay made from combining these small thin extrusions.) All I know was that we wanted to extrude clay using the technique described by Cynthia Tinnapple in her Polymer Clay Daily blog. We wanted to see for ourselves how the stacks of color keep pushing through each other and changing as they are extruded through a smaller opening, but we didn’t want to wear out our wrists cranking the tiny handle of an extruder. I ordered the stainless steel extruder, adapter, and vise suggested by Cynthia, before Holly arrived.
It helps to read the directions when you’re doing something you’ve never done before.

We conditioned lots of polymer clay by running it through our pasta machines, then cut out circles of color the size of the extruder barrel and stacked them up. We thought we needed a different size hole for the end of the extruder, so I quickly made a copper version using my disc cutter.
 Holly extruded the fist cane….
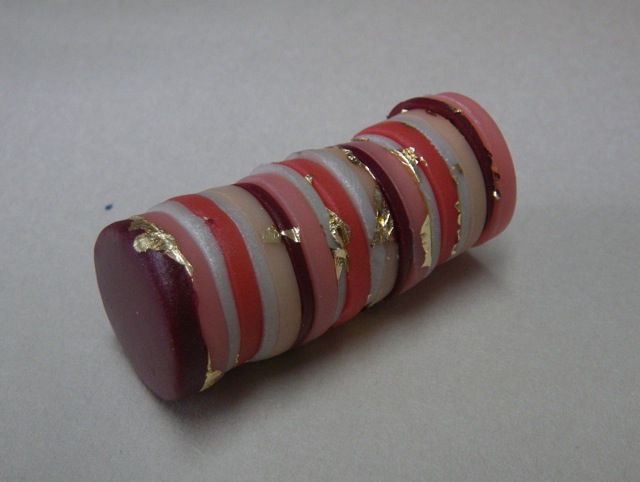
It works! (Though the cane in the photo below is actually one from our second day of experiments.)

We experimented with waxed linen between slices of polymer clay to see how it would handle curing. That way our test slices might be able to be used as jewelry components if they worked out.
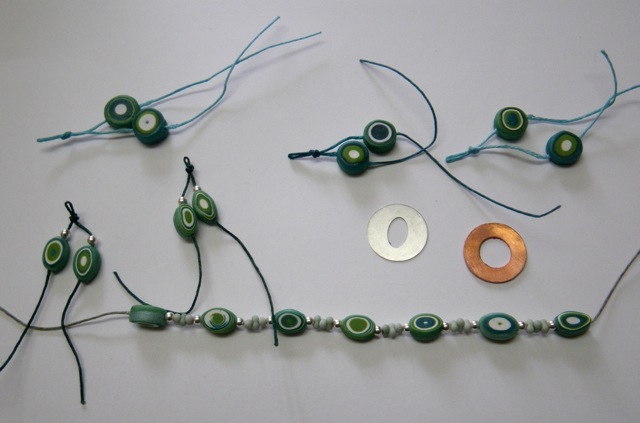

My cane slices could be made to slide quite easily on the waxed linen. Not what I had hoped would happen. Holly’s pieces did not slide quite as easily. She had used liquid polymer between her slices to see if it made a difference in holding the waxed linen.
On day two I used all translucent Pardo clay, tinted with alcohol ink, with silver leaf between each disc. I extruded through a small square shape.

 A cured test slice of one cane I had wrapped with more of the blue translucent Pardo:
 Holly tinted Premo translucent clay with alcohol ink and alternated her translucent slices with light and dark solids. She used gold leaf between her slices.

I love how the gold leaf seems to glow through the peach translucent clay in the upper left teardrop.
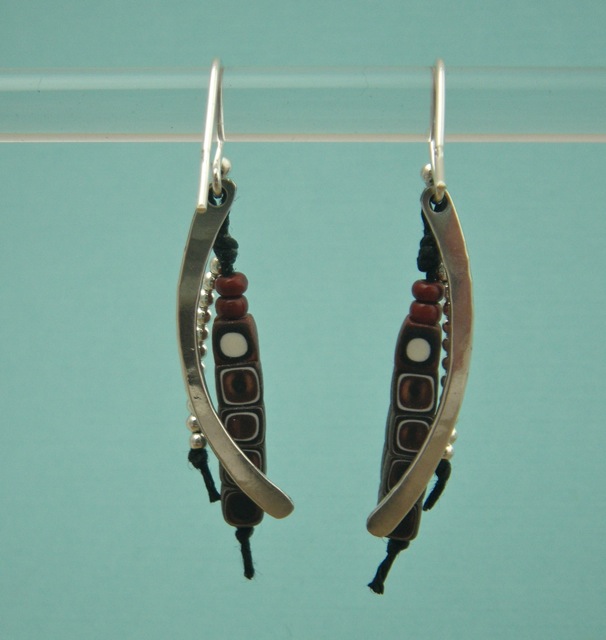
The time went all too quickly. Two morning sessions were just enough to whet our appetite for more polymer clay exploration. We were having too much fun to stop and take photos of it all. Here are two more test pieces, with beads added to the waxed linen before squeezing the two sides of polymer together. In my mind they would be earring components.
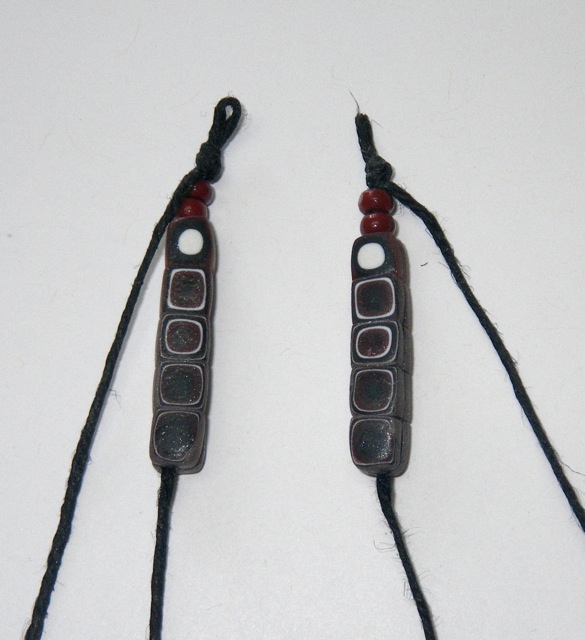 The translucent segments show up a little bit in the finished earrings. What looks like a black stripe in the second segment from the top is actually the linen thread showing through the translucent part of the cane.